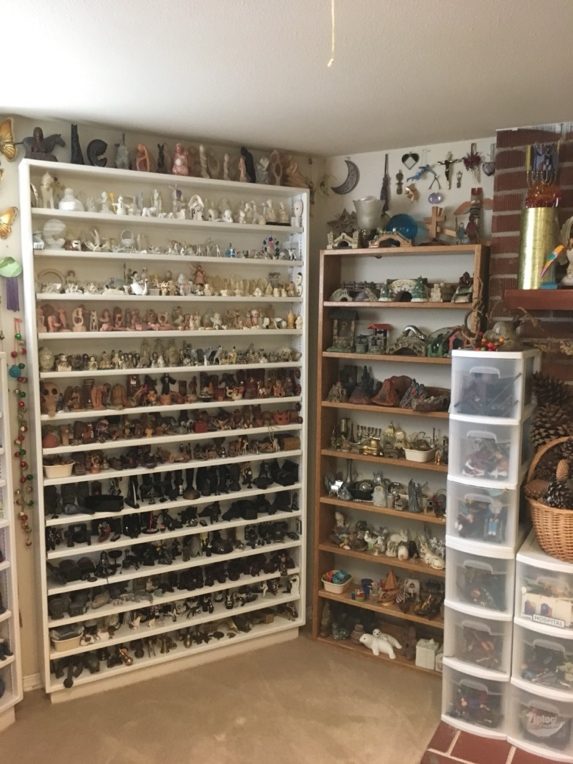
I offer this chat to entice those therapists who may be hesitant to try the Sandtray methods. I hope this blog will help you to engage more easily in Sandtray. I focus here on essential tools that may be acquired at a reasonable price. The next blog will discuss collecting and displaying miniature items.
The most important thing is that you get some basic materials and begin to explore them yourself. Play is learning—even for those of us with multiple degrees and credentials. If you have a question or concern, feel free to contact me through this website.
Box:
Starting out, plastic rectangular and clear storage boxes and flat-bottomed restaurant bus trays are inexpensive and easy to acquire. Having an extra box, even empty, can come in handy. I keep several of these boxes to spread out wet sand in to dry faster. Since they stack easily, one box can just stay under your designated sand tray for ready use. I prefer the clear trays, but either kind may have contact paper put on the bottom in the traditional blue. The clearer trays may also be set on a blue towel or surface instead. I eventually invested in sturdy plastic and flat bottomed photo developing trays, using contact paper for their blue bottoms. These have lasted for more than 30 years. There is no “magic” size of box for this method to work, but there are several matters to consider. I share the sizes I use only as a guideline.
For young children I use 16x20x6. For children and trauma work the deeper trays are often preferred by clients. I transitioned to using these smaller trays for young children after hundreds of observations that the kids did not usually use the far NE and NW corners of the standard adult tray (because they could not reach there unless they walked around the box). For adult clients the sizes used were 20x24x3, or 20x24x6. Now, I have multiple trays and the creator of the world chooses, but this was not the case when I started using the Sandtray method. A box that is too small for adults, may really cramp a creator’s style. I discovered this when doing a training where the counseling agency insisted on providing the physical environment. They provided storage boxes that were smaller than those I recommended, and the participants felt constrained.
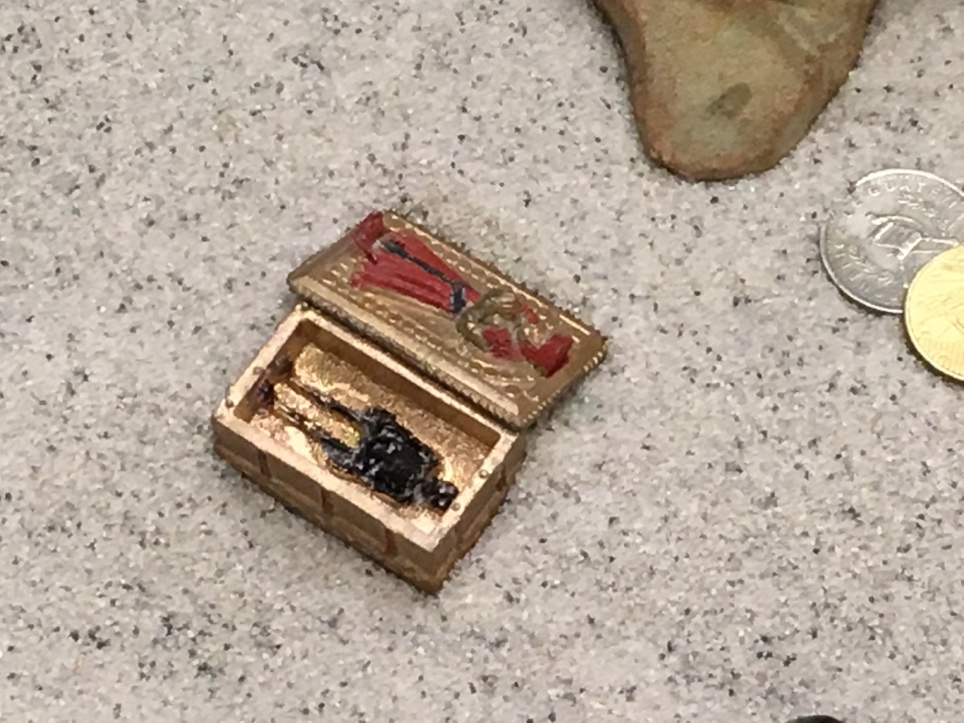
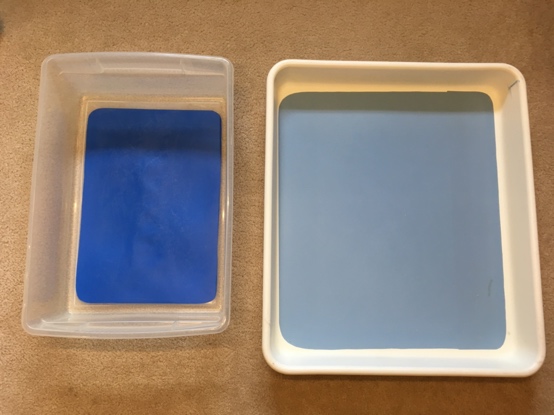
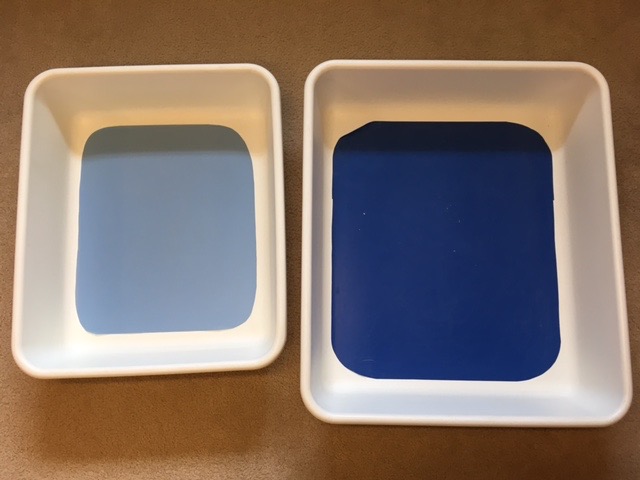
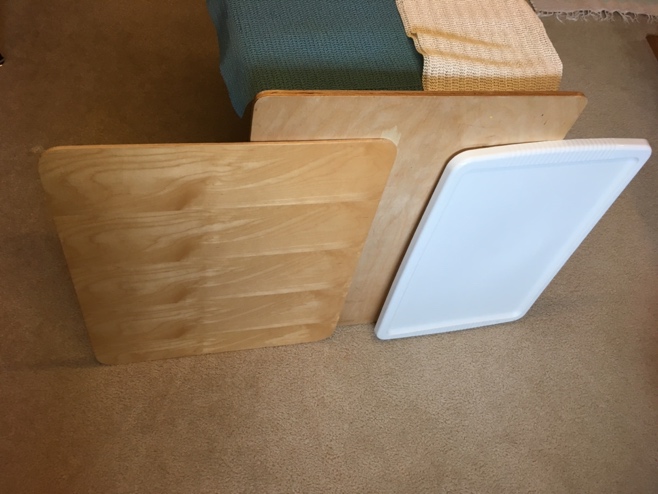
Figures 1 and 2 show some of the empty sand trays as described above. I prefer the darker blue, but I have used this lighter blue when that was not available. Figure 3 shows different types of covers and non-skid shelf lining to help keep the trays from sliding off of a table.
Sand:
The most readily accessible sand is “play sand,” available at many hardware stores. This product is sold to fill children’s outdoor sandboxes and has various sizes and colors mixed together. If this is what you can acquire right away, please do so. Later you may try washed and graded sands. These sandblasting sands will give you the chance to observe the different properties of each type of product. The size I have used for my trainings was “030 regular.” Finer grained sands have a wonderful texture, but do create notably more dust in the air when used. Finer sands, such as 100, also take longer to dry when wet. These sands are sized by the number, with the higher numbers indicating smaller grains of sand. It usually comes washed and color matched. These products are available at building, landscaping, and sandblasting supply stores, usually in 100 lb. bags, which can fill a tray 3-5 times. Extra sand may be kept in containers. I most often use washed-out food containers.
If you have not experimented with water in the sand, I urge you to do so as soon as you can make yourself ready. Allowing water exponentially increases the range of experiences for the maker of the world. If you have ever played at a beach, you know that dry sand is distinctly different from wet sand, even the smell. Personally, I like making the sand wet myself, in my own way. As a tactile/visual learner sand work is my haven. Water may enter the sand world using squirt, pump, and spray bottles, or cups, pitchers, watering cans, etc. It is prudent to have towels and a bucket for hand and miniature rinsing nearby. For those working on the floor, large towels, a sheet, or tarp will protect your floors and make cleanup faster. I always work to have dry sand available since some clients do not want to start with, or use, wet sand.
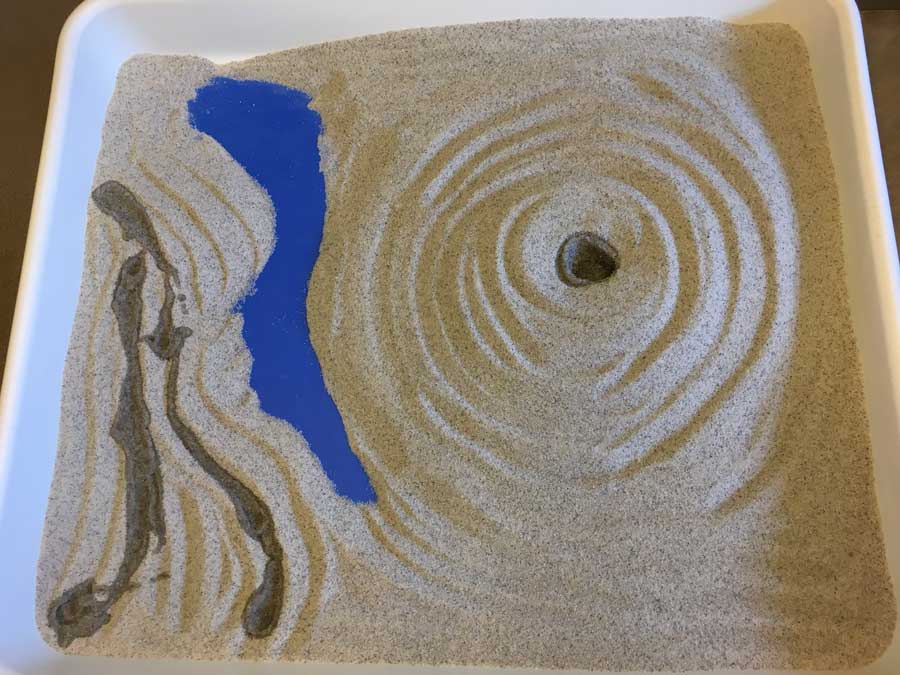
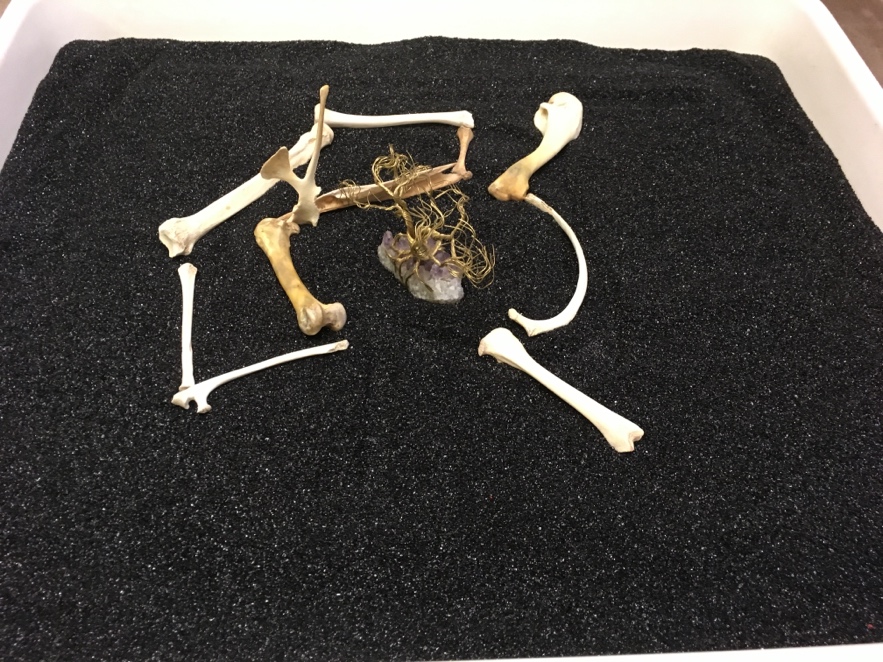
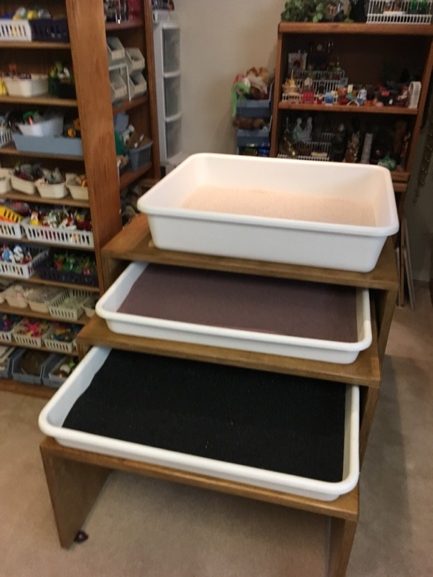
Figure 4 shows the sand trays that I currently offer. Each sand is a different texture as well as color. Figures 5 and 6 show dry sand topographies made by clients.


Space:
Please don’t let space considerations stop you from exploring! It is ideal to have enough space for the therapist and the client to sit across from each other, side by side, and for them both to be able to walk around the sand box. Yet this is not necessary. In my first “play room” I was sub-letting an office space that was used for substance recovery groups. My play set up was confined to a corner of the room. My Sandtray consisted of a box on cement blocks that could only be played with while sitting on the floor. At the time I only worked with young children. They were so thrilled with this technique that no one complained and every one of them dove into the play.
Here are some options other than having a designated Sandtray space:
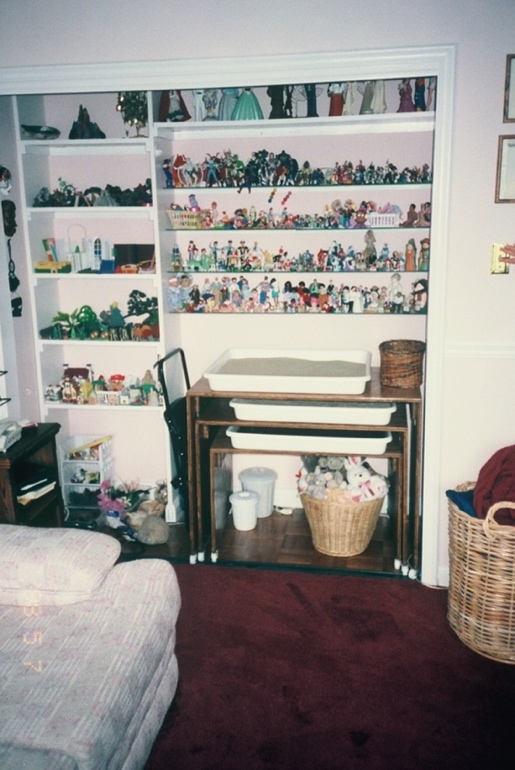
- Trays may be set on a table with a cover and double as an end table (wheels are useful too)
- Kept under a coffee table, couch or chair and slid out as needed
- Kept in a closet or another room
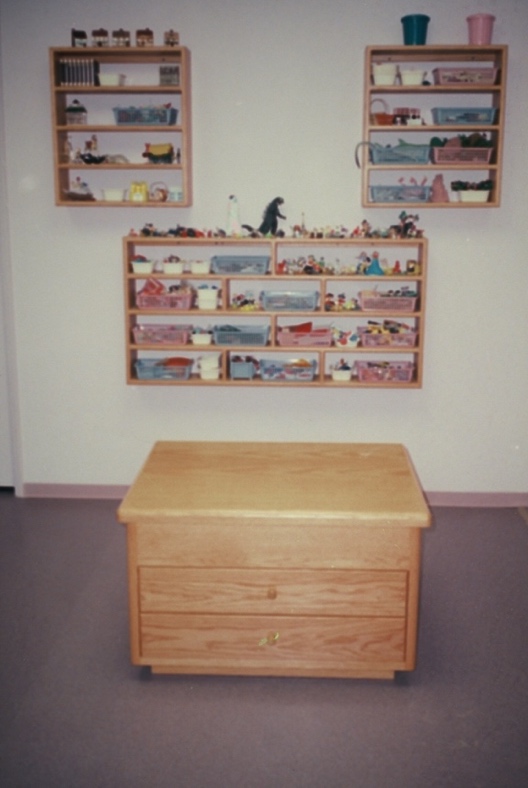
Figures 7-9 are examples of sand tray spaces.
It’s fine to start experimenting with just sand or sand and water. Child, adolescent, and adult clients alike may choose to talk and move the sand while doing so. This is a fine start and may be very soothing. What will be significant for your growth is that you allow yourself the space and time to explore this medium.

